Django slug tutorial: adding slug field in a django model
In this tutorial, we are going to learn what is a slug and how to add slug or SlugField in a Django model. Slug is just a part of URL which uniquely identifies a page or blog and explains the content of the page.
Slugs are important for a website when it comes to SEO or readability of URLs.
What is a slug?
Slugs are very common on the website. If you check one of the links of our website https://www.procoding.org/custom-user-model-django/ /custom-user-model-django/ this part is known as a slug.
For more detailed information you can read Yoast's blog.
So, in this tutorial, we will be doing the same with URLs on our website.
Set up
Install Django, start a new project and a new app. Here I am using Django version 3.0.6.
pip install django
django-admin startproject slugproject
cd slugproject
python manage.py runserver
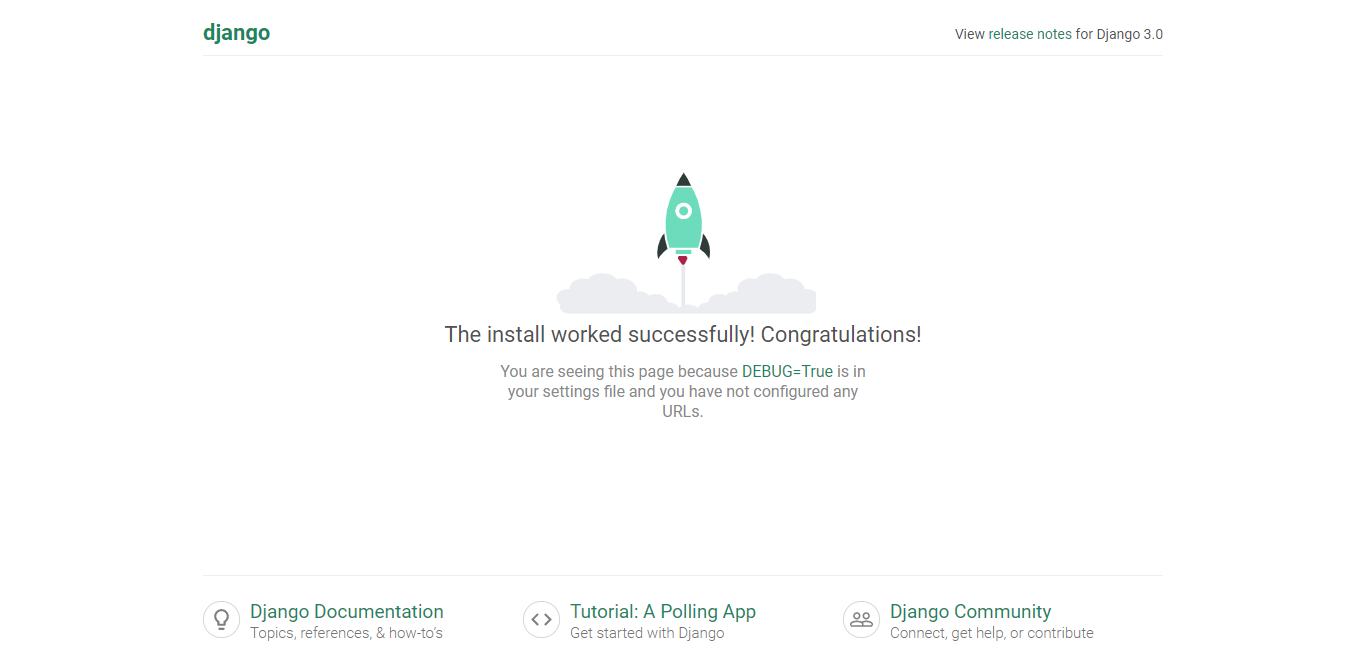
If the server is running perfectly then you are ready to go.
Start an app
python manage.py startapp slugapp
Then update INSTALLED_APPS in slugproject/settings.py file and append slugapp
INSTALLED_APPS = [
    'django.contrib.admin',
    'django.contrib.auth',
    'django.contrib.contenttypes',
    'django.contrib.sessions',
    'django.contrib.messages',
    'django.contrib.staticfiles',
    'slugapp', # new
]
Now setup Blog model without slug where we will use blog URL with model id
Update slugapp/models.py
from django.db import models
from django.urls import reverse

class Blog(models.Model):
    title = models.CharField(max_length=128)
    body = models.TextField()

    def __str__(self):
        return self.title

    def get_absolute_url(self):
        return reverse('blog_detail', args=[str(self.id)])
NOTE:
blog_detailis a name of URL that we will be defining inslugapp/urls.pylater
Now we are all set with the models, run makemigrations and migrate command to create these tables into database
python manage.py makemigrations
python manage.py migrate
Create a superuser by running following command into terminal and fill the required fields
python manage.py createsuperuser
Register your app in slugapp/admin.py so that we can modify our database from admin interface
from django.contrib import admin
from slugapp.models import Blog

class BlogAdmin(admin.ModelAdmin):
    list_display = ['title', 'body']

admin.site.register(Blog, BlogAdmin)
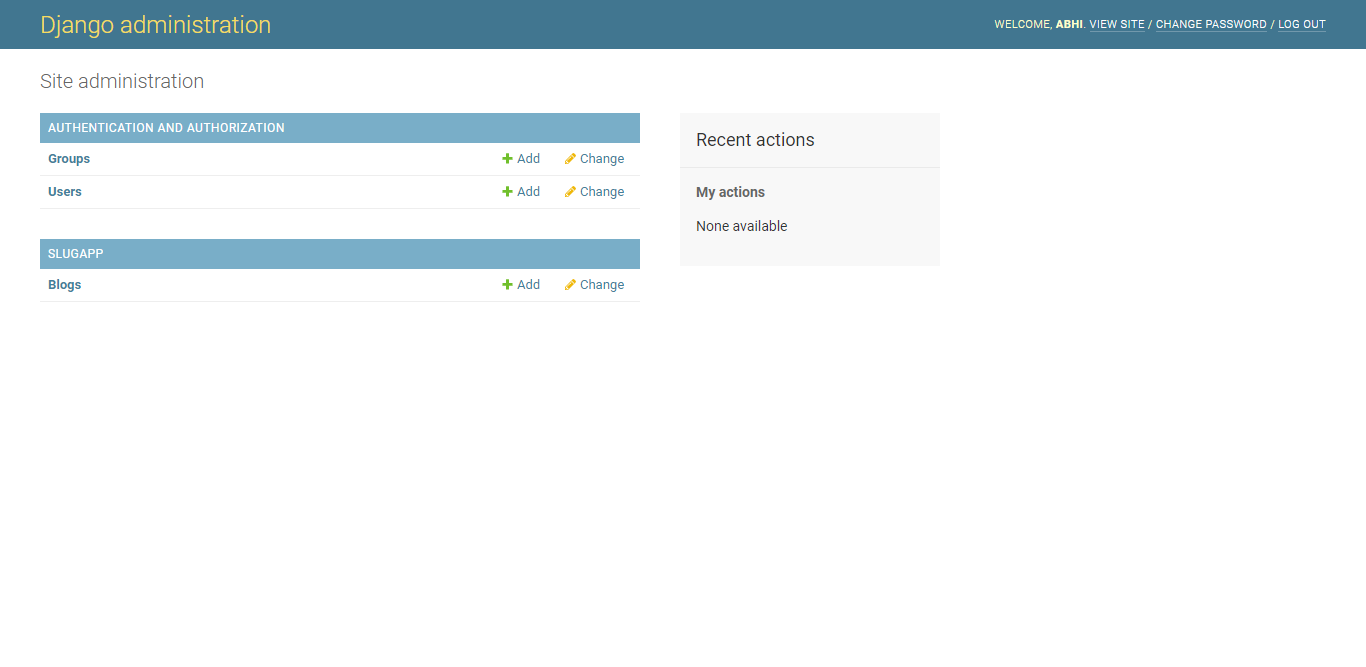
Then, open admin panel create a blog post http://localhost:8000/admin
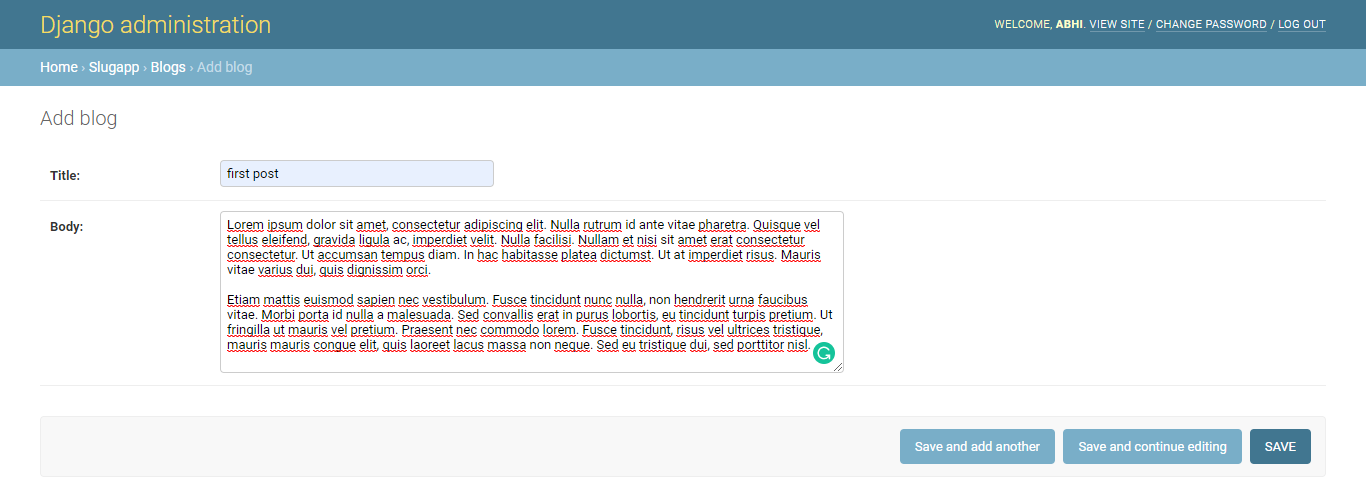
And then add a new blog
Now create views for our application in slugapp/views.py
from django.shortcuts import render
from slugapp.models import Blog
from django.views.generic import ListView, DetailView

class BlogListView(ListView):
    model = Blog
    template_name = 'blog_list.html'

class BlogDetailView(DetailView):
    model = Blog
    template_name = 'blog_detail.html'
Now setup templates to render pages
Create a new folder templates at the level of manage.py where main project and app folder are situated.
Then add path of your template directory into slugproject/settings.py file
TEMPLATES = [
    {
        'BACKEND': 'django.template.backends.django.DjangoTemplates',
        'DIRS': [os.path.join(BASE_DIR, 'templates')], # added
        'APP_DIRS': True,
        'OPTIONS': {
            'context_processors': [
                'django.template.context_processors.debug',
                'django.template.context_processors.request',
                'django.contrib.auth.context_processors.auth',
                'django.contrib.messages.context_processors.messages',
            ],
        },
    },
]
Create two html files inside templates folder
- blog_list.html
- blog_detail.html
At this point your project structure should like this, based on the folder we have added
slugproject/
|-- slugapp/
|   |-- __init__.py
|   |-- admin.py
|   |-- apps.py
|   |-- models.py
|   |-- models.py
|   |-- tests.py
|   `-- views.py
|-- slugproject/
|   |-- __init__.py
|   |-- asgi.py
|   |-- settings.py
|   |-- urls.py
|   `-- wsgi.py
|-- templates
|   |-- blog_detail.html
|   `-- blog_list.html
|-- db.sqlite3
`-- manage.py
Then setup URLs to point our views and render pages
Create new file slugapp/urls.py inside our app and add URLs
from django.urls import path
from slugapp.views import BlogListView, BlogDetailView

urlpatterns = [
    path('<int:pk>/', BlogDetailView.as_view(), name='blog_detail'),
    path('', BlogListView.as_view(), name='blog_list'),
]
Now include these URLs to project level slugproject/urls.py
from django.contrib import admin
from django.urls import path, include

urlpatterns = [
    path('admin/', admin.site.urls),
    path('', include('slugapp.urls')),
]
Now add some content to HTML files
Render list of all posts to home page blog_list.html
<h1>Blogs</h1>
{% for blog in object_list %}
  <ul>
    <li><a href="{{ blog.get_absolute_url }}">{{ blog.title }}</a></li>
  </ul>
{% endfor %}
Render each blog post to page blog_detail.html
<div>
  <h2>{{ object.title }}</h2>
  <p>{{ object.body }}</p>
</div>
Now start the server and check both the pages
python manage.py runserver


In the above image, you can observe the URL /1 is used that is the id of the blog which is used to uniquely identify the blog here. We will use slug instead of this.
Adding slug to app or model
Add a new field in model for slug of type SlugField in slugapp/models.py
from django.db import models
from django.urls import reverse

class Blog(models.Model):
    title = models.CharField(max_length=128)
    body = models.TextField()
    slug = models.SlugField(null=True) # new

    def __str__(self):
        return self.title

    def get_absolute_url(self):
    return reverse('blog_detail', kwargs={'slug': self.slug})
Then run makemigrations and migrate command to modify the table
python manage.py makemigrations
python manage.py migrate
Now go to admin page and edit an existing blog.
Add slug to our post
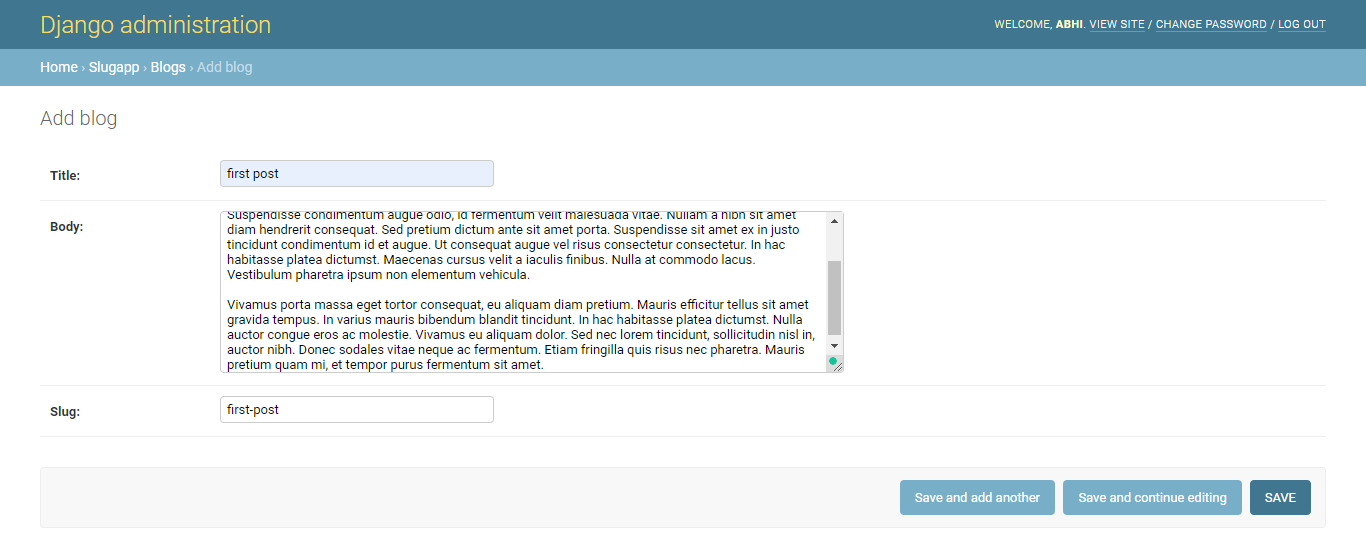
Now we have to do changes in slugapp/urls.py to accept slug in URLs
from django.urls import path
from slugapp.views import BlogListView, BlogDetailView

urlpatterns = [
    path('<slug:slug>', BlogDetailView.as_view(), name='blog_detail'), # updated
    path('', BlogListView.as_view(), name='blog_list'),
]
Open the blog detail page you can see that slug appears in the URL
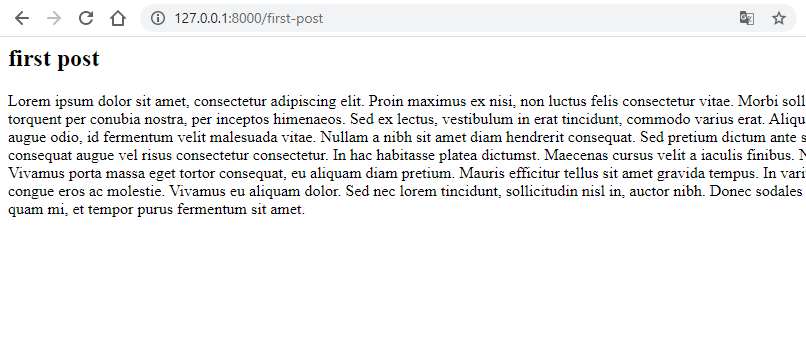
We always want our slug not to be null and always unique so modify slugapp/models.py
from django.db import models
from django.urls import reverse

class Blog(models.Model):
    title = models.CharField(max_length=128)
    body = models.TextField()
    slug = models.SlugField(null=False, unique=True) # new

    def __str__(self):
        return self.title

    def get_absolute_url(self):
        return reverse('blog_detail', kwargs={'slug': self.slug})
After doing the changes run following commands
python manage.py makemigrations
python manage.py migrate
We are all set with our minimal blog app now we can add the slug automatically to our blogs.
There are two ways to add slug automatically for our blogs
Using Prepopulated fields #
Modify slugapp/admin.py and prepopulated_fields attribute to BlogAdmin class
from django.contrib import admin
from slugapp.models import Blog

class BlogAdmin(admin.ModelAdmin):
    list_display = ['title', 'body']
    prepopulated_fields = {'slug': ('title',)} # new

admin.site.register(Blog, BlogAdmin)
Now add a new blog post and while typing the title of a blog post you may observe that slug will be automatically generated based on the title you are typing.
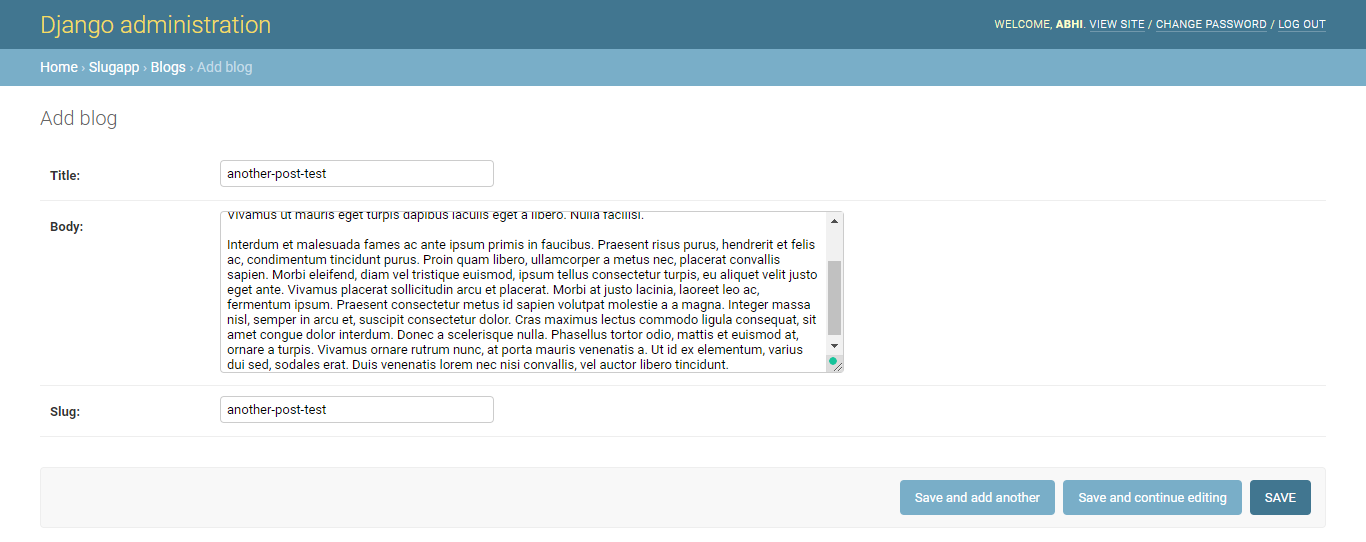
But this approach is not always good because probably you will never give admin access to all the users who are adding the blog posts. In that case, we should follow the second approach.
Using slugify function #
For this approach modify slugapp/models.py. We have to change slug attribute to null=True and blank=True because we are sure that if user will not provide then save method will add this
from django.db import models
from django.urls import reverse
from django.template.defaultfilters import slugify # new


class Blog(models.Model):
    title = models.CharField(max_length=128)
    body = models.TextField()
    slug = models.SlugField(null=True, blank=True, unique=True) # new

    def __str__(self):
      return self.title

    def get_absolute_url(self):
      return reverse('blog_detail', kwargs={'slug': self.slug})

    def save(self, *args, **kwargs): # new
      if not self.slug:
          self.slug = slugify(self.title)
      return super().save(*args, **kwargs)
After doing these changes run makemigrations and migrate command to modify table based on the above changes.
python manage.py makemigrations
python manage.py migrate
Again, open admin interface and try adding new blog without slug and save. You will observe that a slug will be added automatically to the blog post.
In this case if the user enters their own slug then their slug will be assigned to the blog post otherwise slug generated by slugify() function will be assigned to it.
We can do this even in case of forms also where we can allow other users to add blog posts without admin interface.
This is working fine but we still have a problem i.e., if we try to add a new post with the same title then slugify() will generate the same slug and then slug will not remain unique and we will get an exception.
So, we have to improve this implementation further.
For improvement we can override save() method in our model and generate slug while saving and if that slug already exists then append the id of previously saved post with the same slug
from django.db import models
from django.urls import reverse
from django.template.defaultfilters import slugify # new

def create_slug(title): # new
    slug = slugify(title)
    qs = Blog.objects.filter(slug=slug)
    exists = qs.exists()
    if exists:
        slug = "%s-%s" %(slug, qs.first().id)
    return slug

class Blog(models.Model):
  title = models.CharField(max_length=128)
  body = models.TextField()
  slug = models.SlugField(null=True, blank=True, unique=True) # new

  def __str__(self):
      return self.title

  def get_absolute_url(self):
      return reverse('blog_detail', kwargs={'slug': self.slug})

  def save(self, *args, **kwargs): # new
      if not self.slug:
        self.slug = create_slug(self.title)
      return super().save(*args, **kwargs)
Now our slug will always remain unique because we are adding unique id or we can change the implementation for making the slug unique in some other way.
What's the best way to add slug
Above mentioned methods are good but not that interactive for user.
So, in our website, we should implement this by using JavaScript so that user will always be able to see the slug generated for the blog and if any change is required the user can immediately modify the slug as per requirement. This will be very much similar to prepopulated fields approach but the prepopulated fields are limited to admin interface only. That's why JavaScript will be the best option.